From development to production with Docker and AWS Elastic Beanstalk
Questo articolo è disponibile anche in italiano

7 minute read
It works on my machine
This post is addressed to people who already have basic knowledge about docker, about how it works and are looking for a way to move to the next step with the goal of using it in development and production day by day.
Having a development/testing environment as close as possible to the production one helps a lot in assuring that things will behave correctly when delivered.
In a typical scenario, the developer has all the services on which the application depends installed on his local machine, which means the following:
- there’s no isolation between projects using the same services (versions, configurations, data);
- it’s hard to have and maintain production-like services’ versions and configurations in development;
- sharing the development environment with co-workers is difficult if not impossible;
All of that leads to one of the worst sentences I’ve ever heard saying in my experience:
It works on my machine.

You might think that I could obtain the same results using Vagrant or plain virtual machines but that solution wouldn’t give me the benefit of having an extra layer of abstraction without having to worry about the overhead. In fact I can have more and more containers running on a single machine than I can have with virtualization.
Bookshelf application
To streamline this article I prepared a demo application using the Penny PHP Framework: it’s a simple book archiving application, that allows the user to create and view a list of books.
Download and dependencies
First, download the demo application from its repository:
git clone https://github.com/pennyphp/bookshelf
PHP Dependencies are managed through composer, and to get them just issue the following:
composer install
Frontend assets are managed through Bower + Grunt; the following two commands will respectively download build dependencies and then build the assets, by copying them in the public directory:
npm install
grunt dev
Up and running development environment
As you can see the demo app comes with a docker development environment that can be found under the docker/development folder.
By inspecting the content of the docker/development folder we can find two directories:
nginx/: this directory contains a Dockerfile that inherits from the fntlnz/nginx image to create a new one with the needed nginx configurations;fpm/: this directory contains a Dockerfile that inherits from the fntlnz/php image to create a new one with the needed php-fpm configurations and extensions;
Because we don’t have Elastic Beanstalk on our local machine (we’ll talk about it later) and we need a way to orchestrate our containers, we’ll do it by using docker-compose. I decided to use Docker Compose instead of using the eb local command (which allows to run elastic beanstalk environment in local) because at the state of art compose is easier to use and to manage in local.
The docker-compose.yml
In order to do so we have to create a docker-compose.yml in our project root.
cp docker/docker-compose.yml.development docker-compose.yml
At this point, in our docker-compose.yml we should have four containers to start:
- the Nginx container, which contains a server block for the bookshelf application listening on port 80.
- the fpm container, which does have a shared volume with the host machine so you can change the code without the need to rebuild the container image; also, the container is linked with the mysql container to allow mysql access from php scripts;
- the mysql container, which will contain our development data;
- the redis container, used for caching purposes, mainly by Doctrine;
Please note that since containers are linked you can access to an exposed service by using the name given to the linked container; for example, in our case the fpm container is linked to the mysql container: that’s why the configured host is mysql in the doctrine local connection configuration.
If you haven’t done it yet, you need to build the fpm docker image and download the nginx, mysql and redis images; to do so, issue the following:
$ docker-compose build
Now that you have all what you need you can start the containers with:
$ docker-compose up
At this point the four containers should be up and running: you can check if everything’s okay by issuing the docker ps command.
To proceed, we need to know the ip address of our nginx container. Since the nginx container’s port forwarding configuration is 80:80, on linux it should be available at 127.0.0.1:80 or localhost:80, while on OS X it should be available at the ip address associated to the docker-machine host; to retrieve it, issue the following:
docker-machine env <yourmachinename> | grep DOCKER_HOST
It’s time to point your browser to the nginx container ip address!
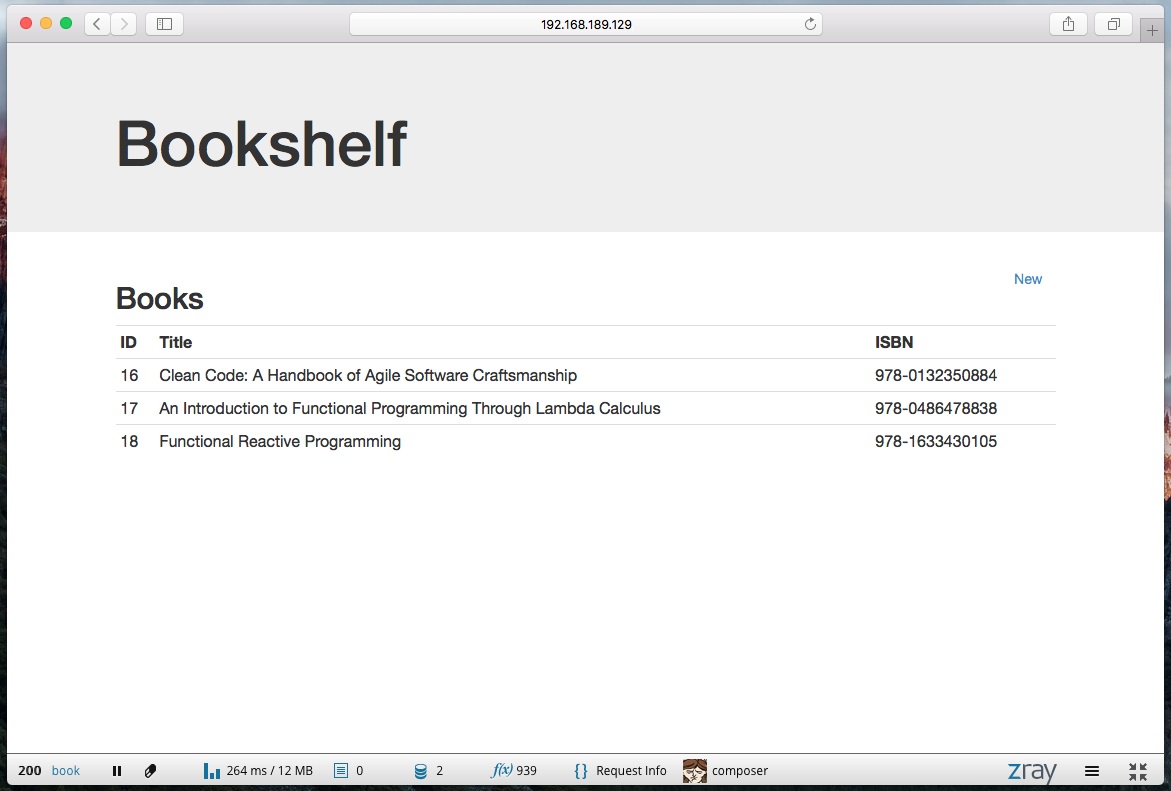
Yay! Our development environment is up and running!
Up and running production environment
At this point we need a solution to deploy our application in production that can: run Docker containers, scale without hassle and possibly have other nice things already setup like, let’s say, monitoring.
The choice fell on AWS Elastic Beanstalk because it has all those things and in addition it has a more competitive pricing model with an initial Free Tier which it is enough to run this demo.
Before we start we need an Amazon Web Services account, if you don’t have one yet, you can create it here
To configure, deploy and manage our infrastructure we are going to need the eb command, to get it:
pip install awsebcli
In order to obtain access to the platform from your command line using the eb command you have to setup an IAM ROLE and associate it to an IAM User. The IAM User creation wizard will give you two keys, namely the AWS Access Key ID and the AWS Secret Access Key. We are going to need them during the next step.
At this point we can initialize our bookshelf project. This command will prompt us for the two Access keys plus a few question about our setup.
eb init
Now that the project is initialized we have to create a new environment. This will actually start a t2.micro EC2 instance, create the security groups, the load balancer, cloudwatch alarms etc..
eb create bookshelf-production
Before deploying the application to production we have to generate a Github Token for composer. This is needed to allow composer to download dependencies without hassle. To add the token to your environment:
eb setenv COMPOSER_TOKEN=<your-token-here>
Now you can check if the system is ready issuing a:
eb status
When the status becomes Ready you can actually deploy the application with a:
eb deploy
The deployment will create the containers described in the Dockerrun.aws.json and create the files described in the dependencies.config file.
If you are asking yourslef what the Dockerrun.aws.json actually is, suffice it to say that is to Elastic beanstalk as the docker-compose.yml is to the local environment.
The files contained in the .ebextensions allows you to customize and configure the software that your application depends on. The dependencies.config is one of them. It actually resolves composer dependencies, build frontend assets using grunt and bower and create the PHP FPM image using the production Dockerfile. It’s important to note that the image is rebuilt only if changes are made to the Dockerfile.
As you may have noticed, the Dockerrun.aws.json contains definitions just for the Nginx and fpm containers. This is because for Redis and Mysql we are going to use respectively Elasticache and RDS. RDS and Elasticache are two production ready, scalable and reliable solutions that makes easier to setup a cost-efficient relational database and key value store taking charge of common database administration tasks.
The Bookshelf application by default is configured to take Mysql and Redis connection parameters from environment variables which are:
MYSQL_HOST
MYSQL_PORT
MYSQL_USERNAME
MYSQL_PASSWORD
MYSQL_DATABASE
REDIS_HOST
REDIS_PORT
Each one of these environment variables can be set using the command we previously used for the COMPOSER_TOKEN.
You can obtain Mysql and Redis connection parameters after creating an RDS Mysql DB instance and an ElastiCache Redis Cluster
At this point with the running Nginx and fpm containers and configured databases you can issue an eb open to open the live production application and see if all’s okay!
As well as ready your infrastructure is also ready to scale and auto scale, to move a first step trough this direction you can take a look at the eb scale command and at the AWS documentation.
Troubleshooting: If something went wrong you can ssh into the elastic beanstalk EC2 machine with a eb ssh and inspect containers status using tools you already know like docker logs.
You are done!
You can now save a lot of time automating your workflow using docker while having a fully working, self-contained and shareable development environment very close to your running, stable and efficient production infrastructure over which you have full control of the resources.


Share this post
X
Facebook
Reddit
LinkedIn
StumbleUpon
Pinterest
Email